
The Actions button in the EC2 dashboard provides a dropdown menu with various management options for your selected instance. This is a key control point for performing important operations, including:
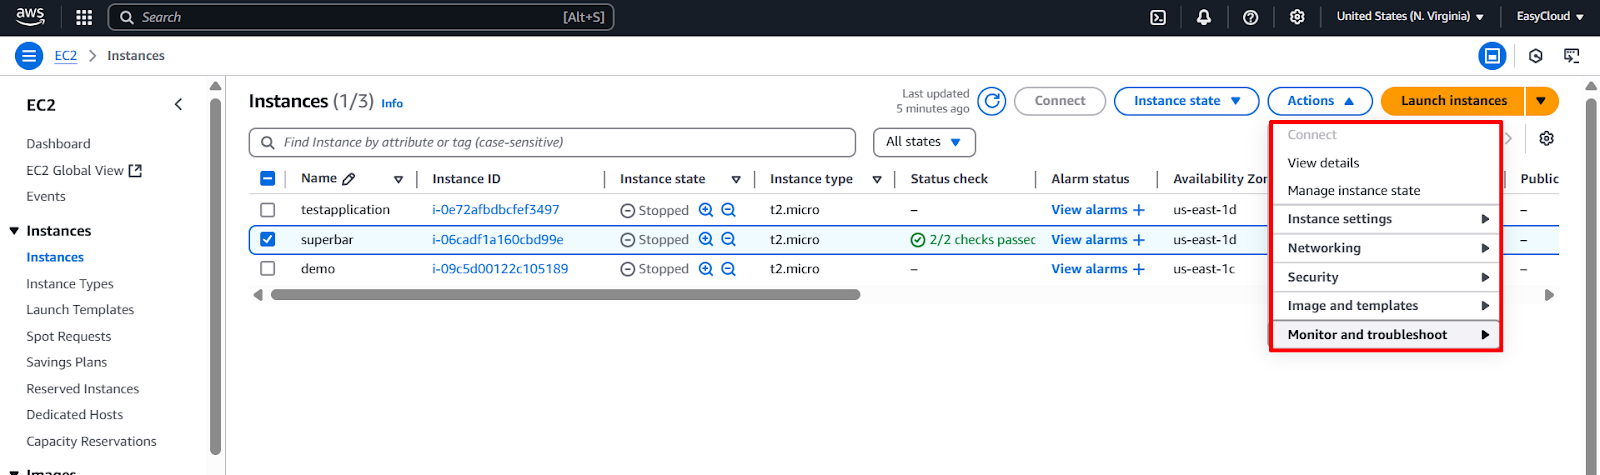
- Instance State: Start, Stop, Reboot, or Terminate your instance.
- Image and Templates: Create AMIs or launch templates from the instance.
- Monitor and Troubleshoot: View system logs, enable detailed monitoring, and access CloudWatch.
- Security: Modify security groups, manage key pairs, and configure IAM roles.
- Networking: Manage Elastic IPs, edit network interfaces, or change subnet settings.
- Instance Settings: Change instance type, add or edit user data, and enable/disable termination protection.
This button helps centralize common administrative tasks, making it easier to manage your EC2 instances without needing to leave the console or use CLI commands.
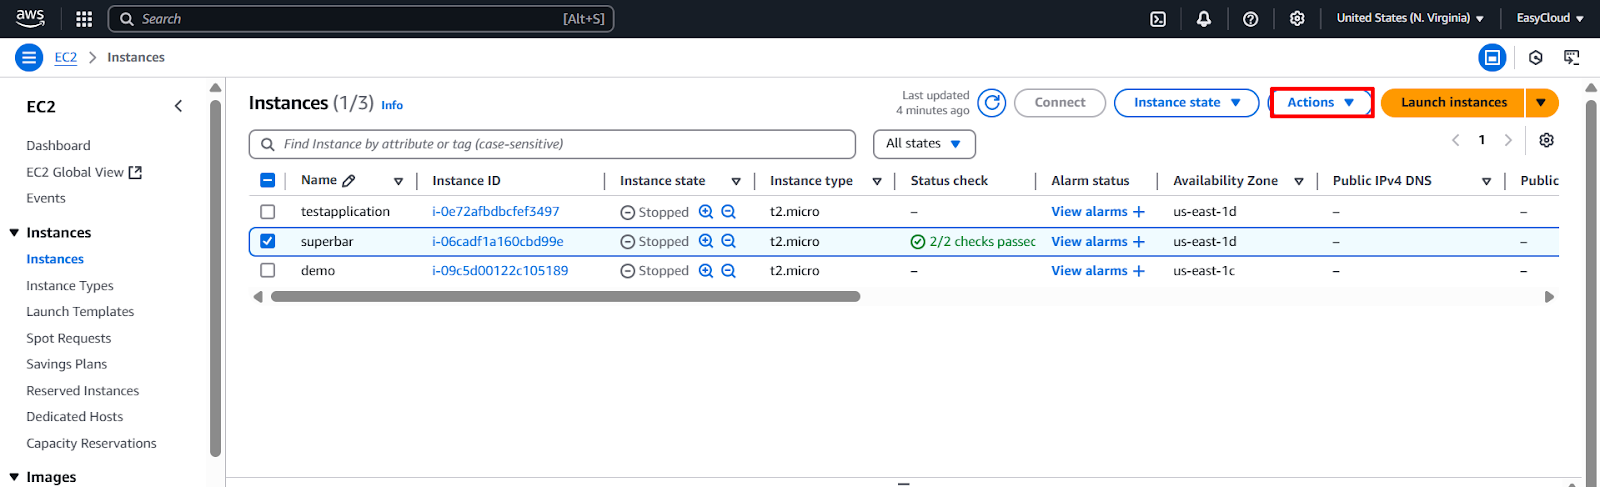
1. Log in to your AWS account and navigate to the EC2 Instances section. At the top of the page, you’ll find the Actions button available for managing your selected instances.
2. Click on the Actions button to view the list of available management options for your instance.
3. Use these options based on your specific requirements to manage and configure the instance effectively.
In the upcoming SOPs (Standard Operating Procedures), we will be utilizing the Actions button for managing EC2 instances. This option has already been incorporated into the relevant documentation, and it plays a crucial role in efficiently managing servers. By leveraging this feature, you’ll be able to perform essential tasks such as starting, stopping, rebooting, and configuring instances as required.
END