
A Placement Group is a feature in AWS that lets you control how EC2 instances are placed on underlying hardware. It helps improve performance and availability. There are three types:
- Cluster – Packs instances close together for low latency and high throughput.
- Spread – Distributes instances across different hardware to reduce failure risk.
- Partition – Spreads instances across logical partitions for large-scale, fault-tolerant workloads.
You can choose a placement group during instance launch based on your application’s needs.
For more inforamtion use this link – https://docs.aws.amazon.com/AWSEC2/latest/UserGuide/placement-groups.html
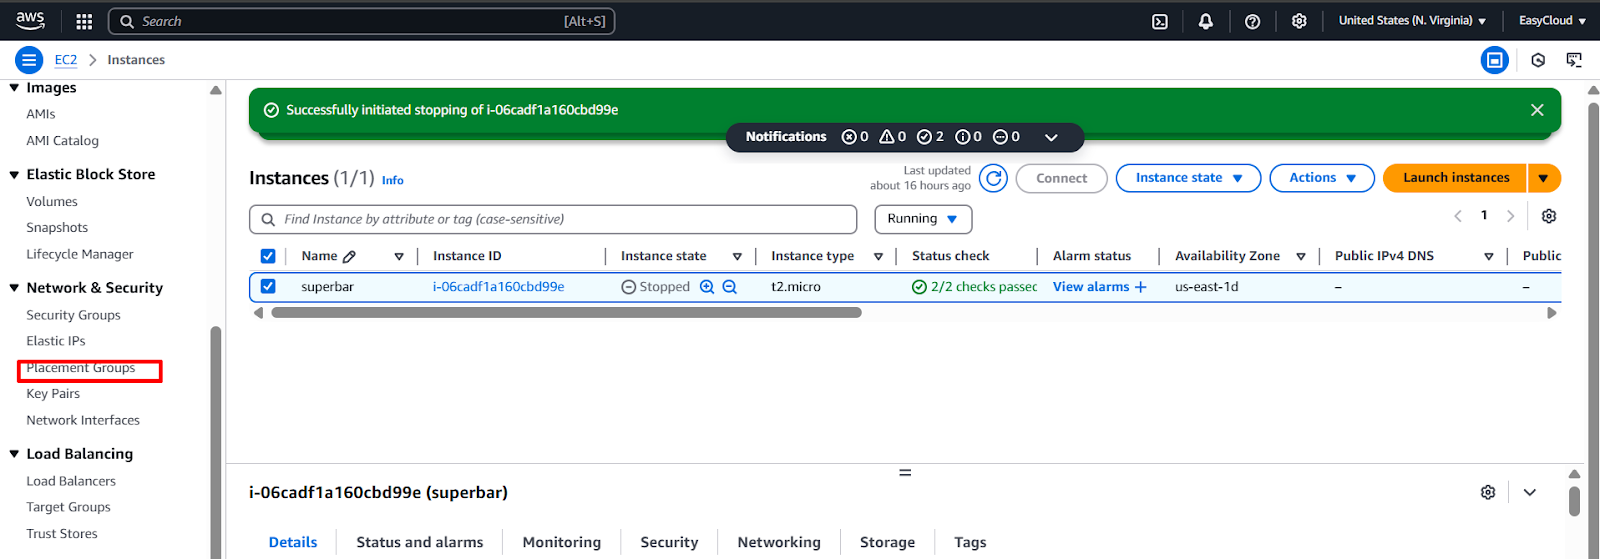
1. First, create a placement group based on your requirements by going to the EC2 section and selecting the Placement Groups option. Then, click on it to begin the setup.
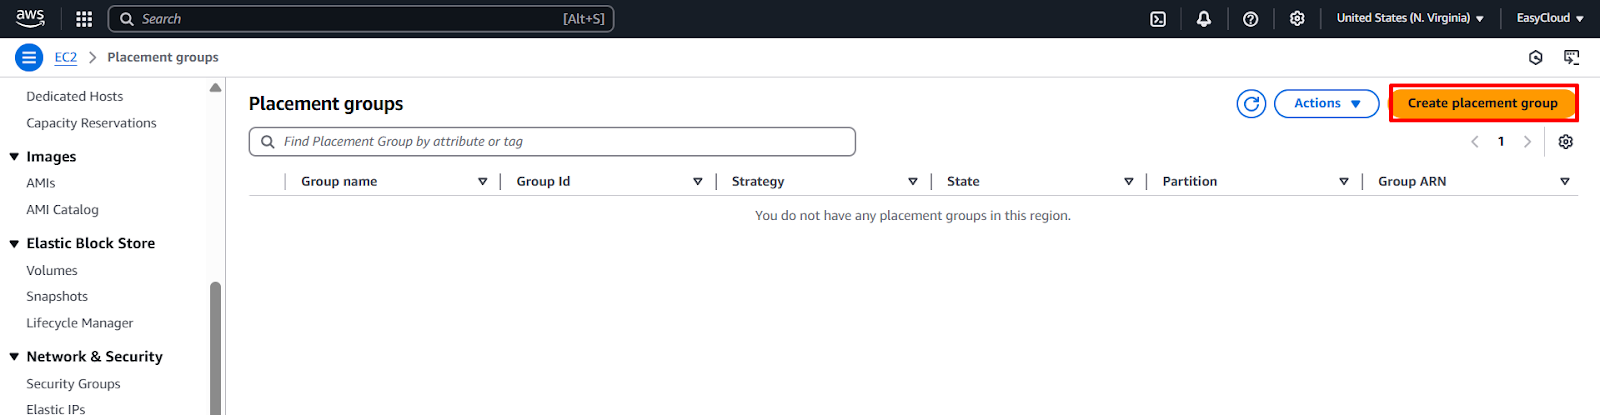
2. Find the Create Placement Group button and click on it to start creating a new group.
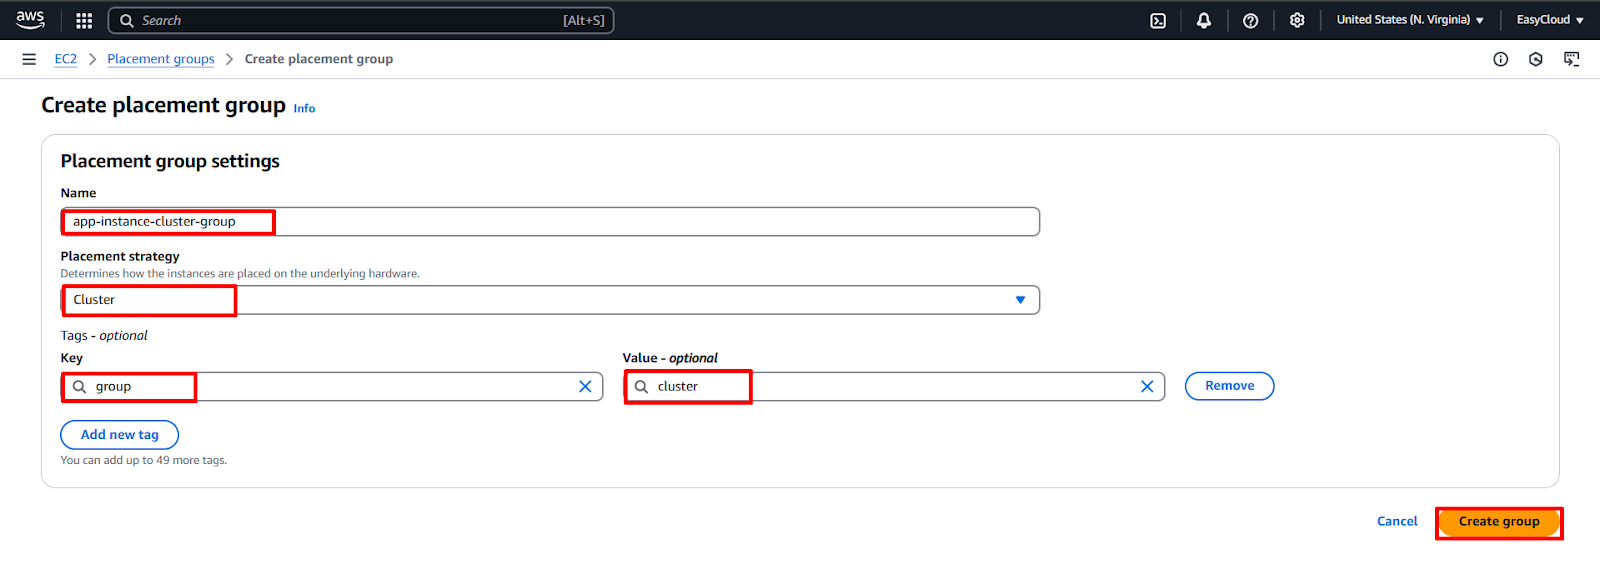
3. Provide a name based on your application’s placement needs, fill in the required parameters, and click on Create Group.
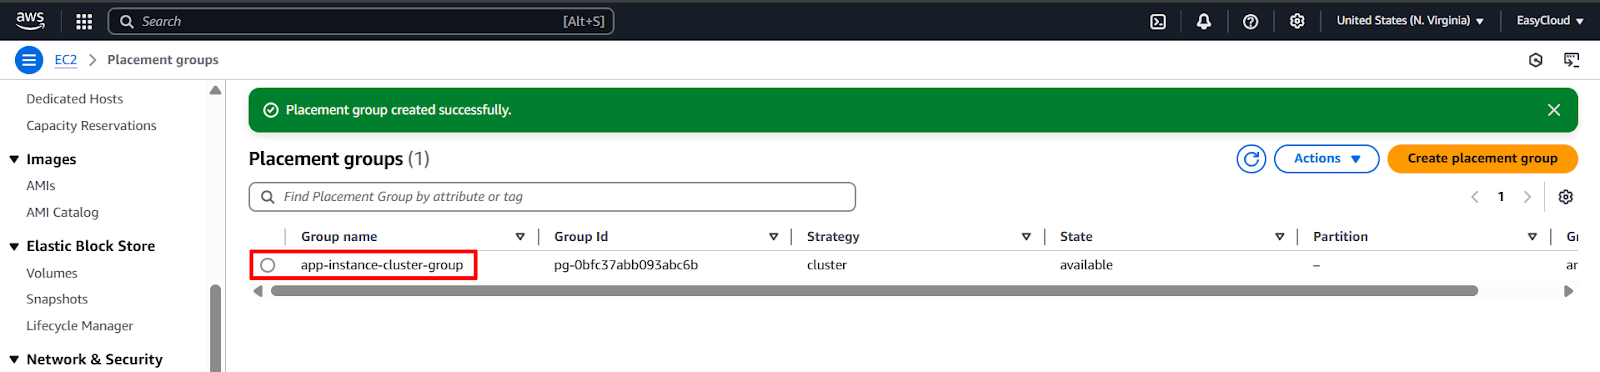
4. Verify that the placement group has been successfully created.
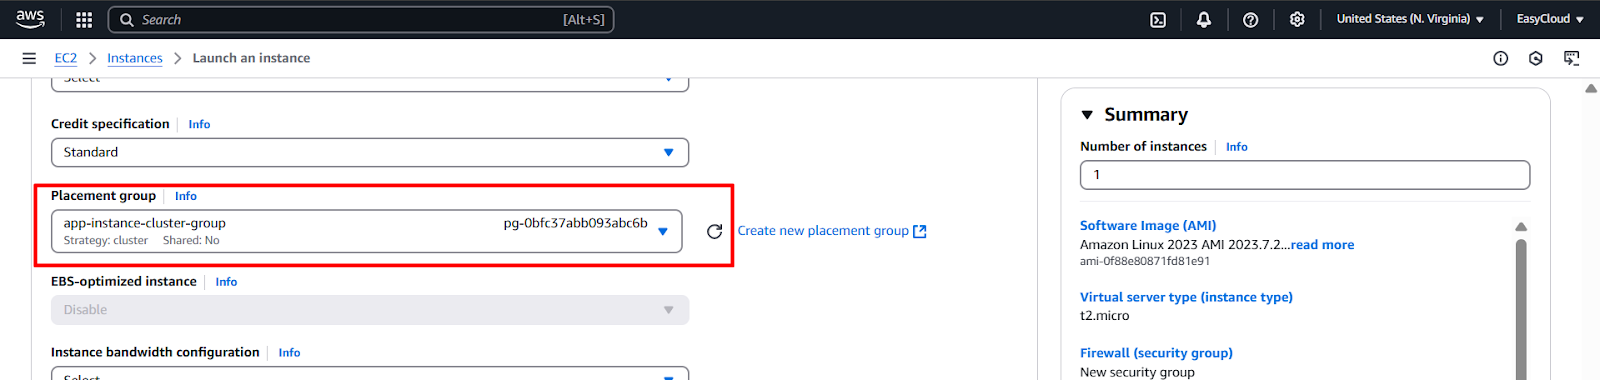
5. Now, when launching the server, click on Advanced Details, find the Placement Group option, and select the placement group you created. Then click on Launch Instance — your server will now be part of the specified placement group.
END