
1. An EC2 (Elastic Compute Cloud) instance is a virtual server in AWS used to run applications in the cloud. It allows you to choose different instance types based on your requirements for CPU, memory, and storage. You can launch EC2 instances using various AMIs, connect to them via SSH (for Linux) or RDP (for Windows), and control network access using security groups. EC2 supports features like Elastic IPs, EBS volumes, IAM roles, and Auto Scaling for high availability and flexibility.
1. Log in to your AWS Management Console using valid credentials. Once logged in, navigate to the search bar at the top of the console. Type “EC2” in the search bar and select the EC2 service from the results. This will take you to the EC2 dashboard, where you can manage and launch instances.
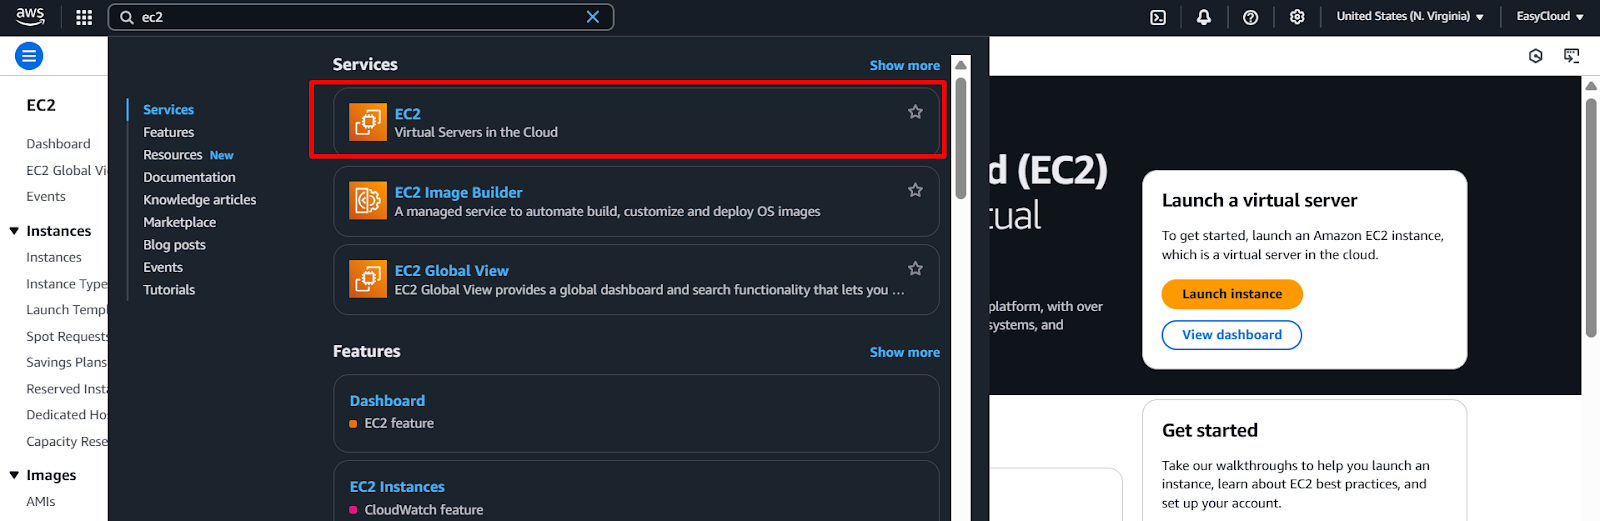
2. Click on the EC2 option from the search results to open the EC2 Console. Here, you will be able to view, launch, and manage your EC2 instances along with other related resources such as volumes, security groups, and key pairs.
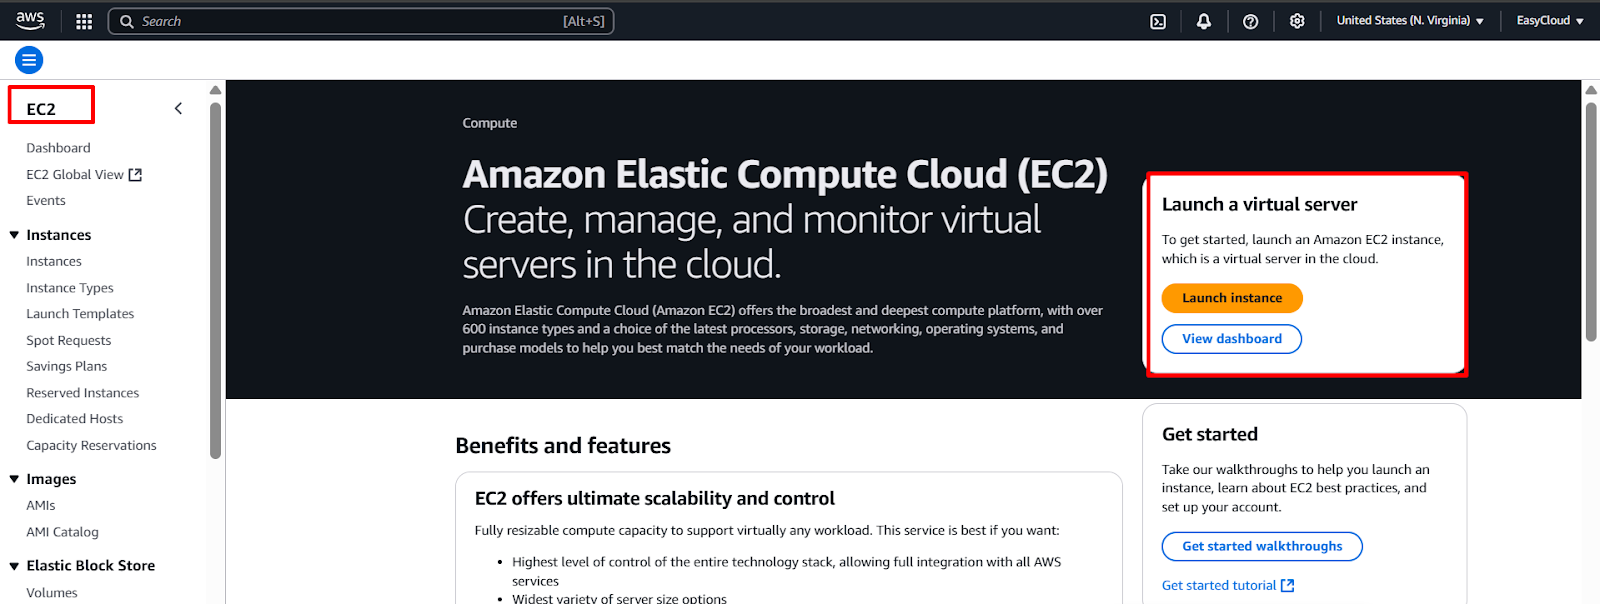
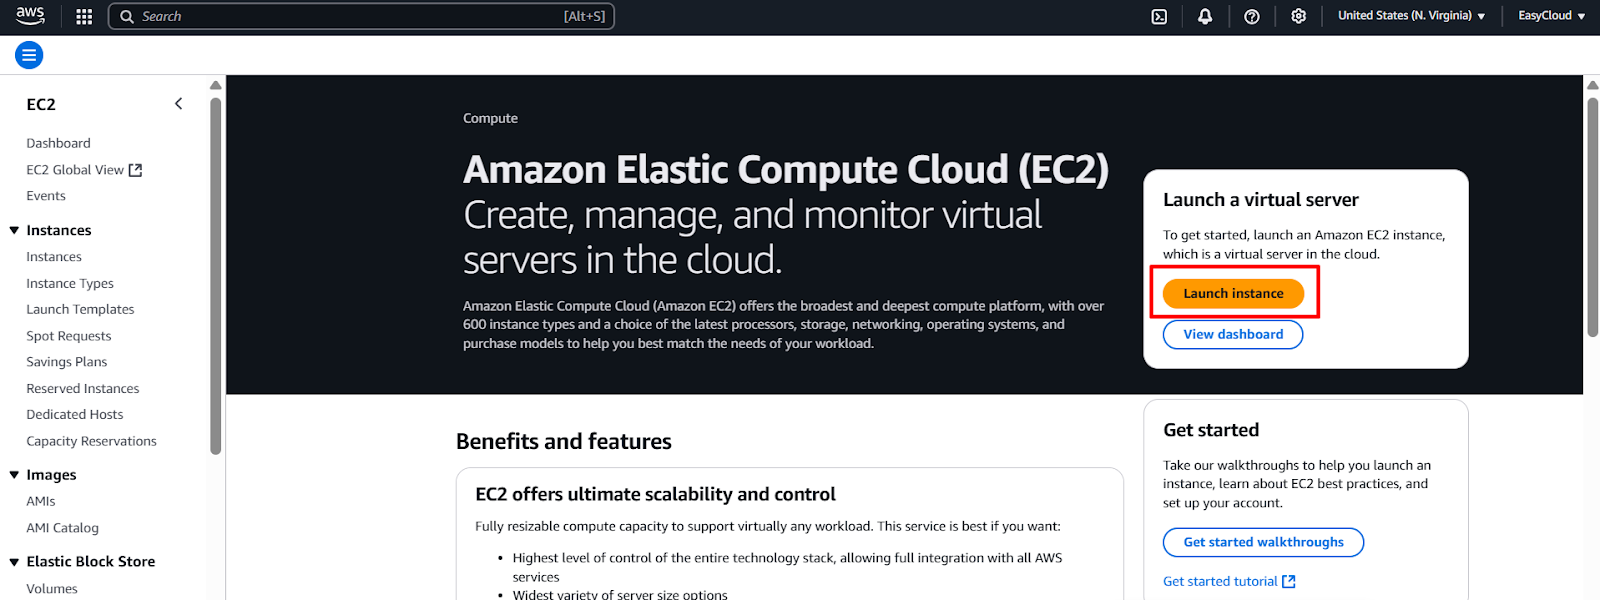
3. Click on launch server.
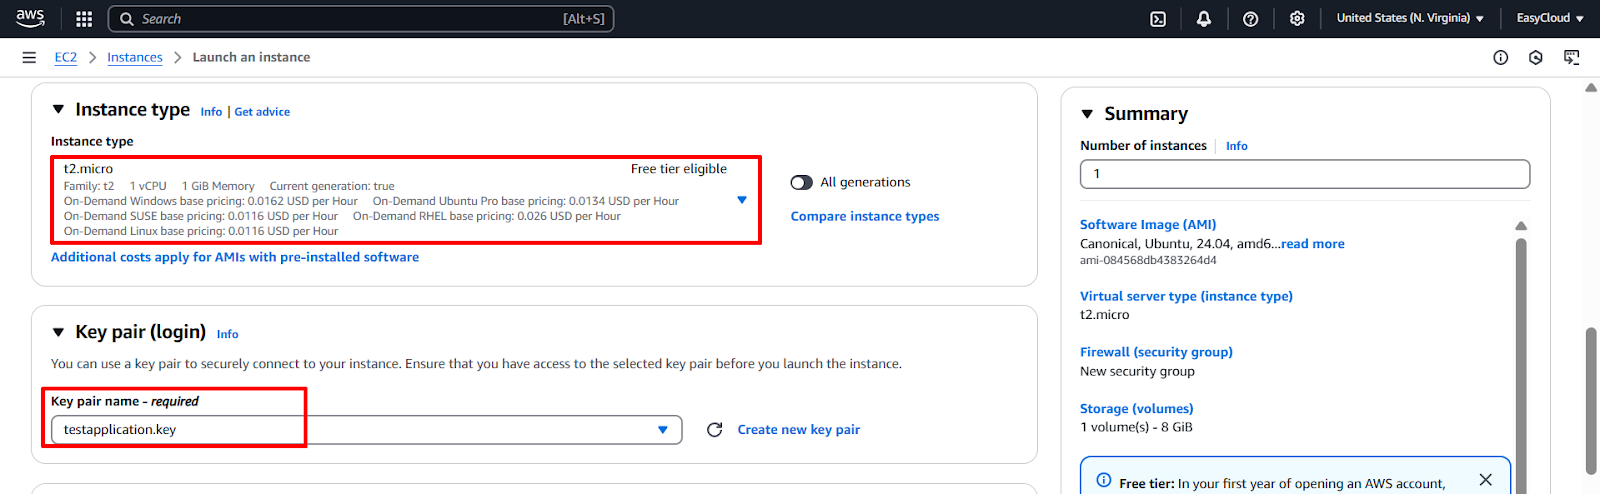
3. Provide your server name (note: choose your server name based on the application you plan to run) and select the operating system you want to use.

4. .Now it’s time to choose your instance type (select it according to your application’s requirements) and choose your EC2 key pair. If a key pair has not been created yet, you will need to create a new one and use it for accessing your instance.
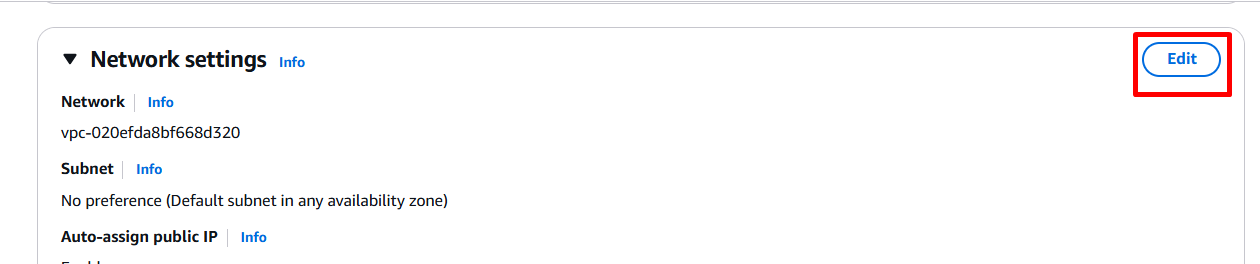
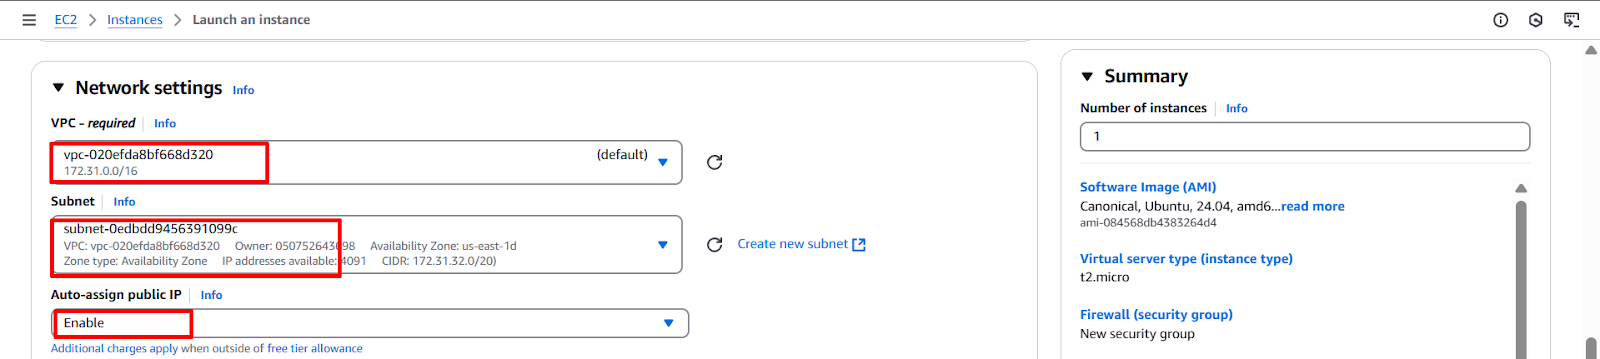
5. Now set the networking elements such as VPC, subnet, and public IP (choose all these settings according to your requirements). Click on the Edit option to configure them as needed
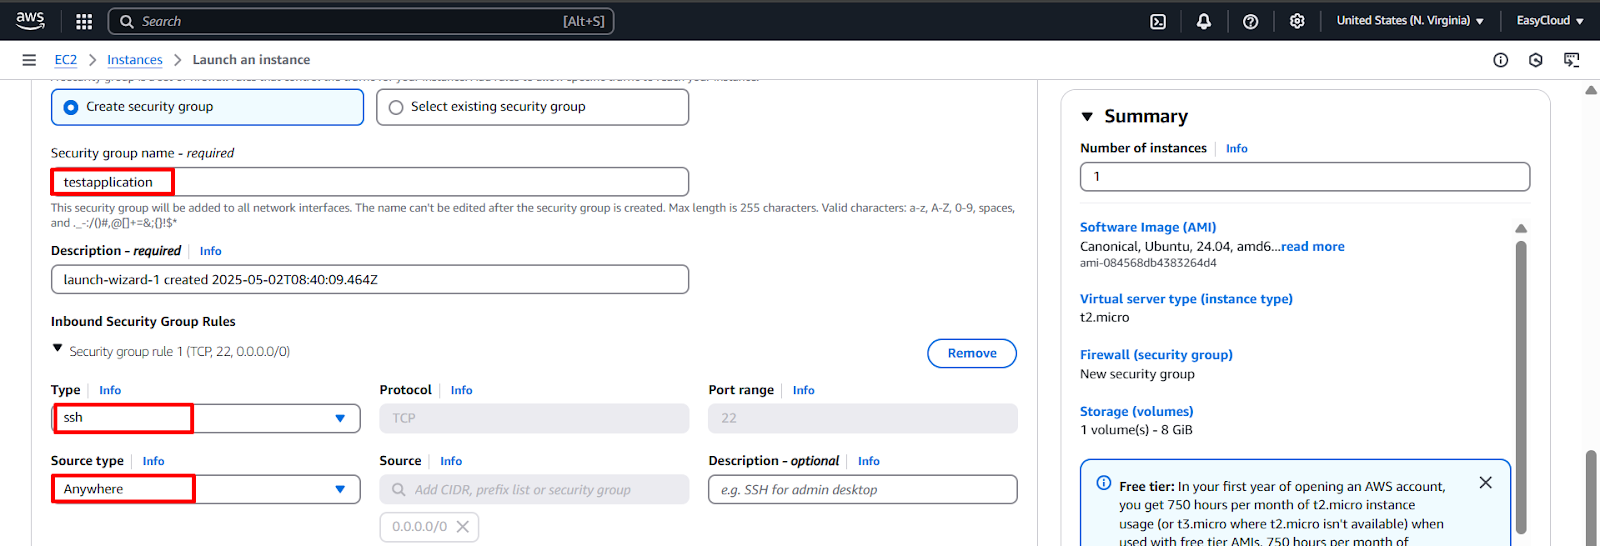
6. Now select your Security Group and configure the inbound traffic rules based on the type of access you want to allow.
7. Choose your storage configuration by specifying the volume size, type (such as General Purpose SSD or Provisioned IOPS), and the number of volumes based on your application’s storage needs..

8. Click on Launch Instance to create and start your server.

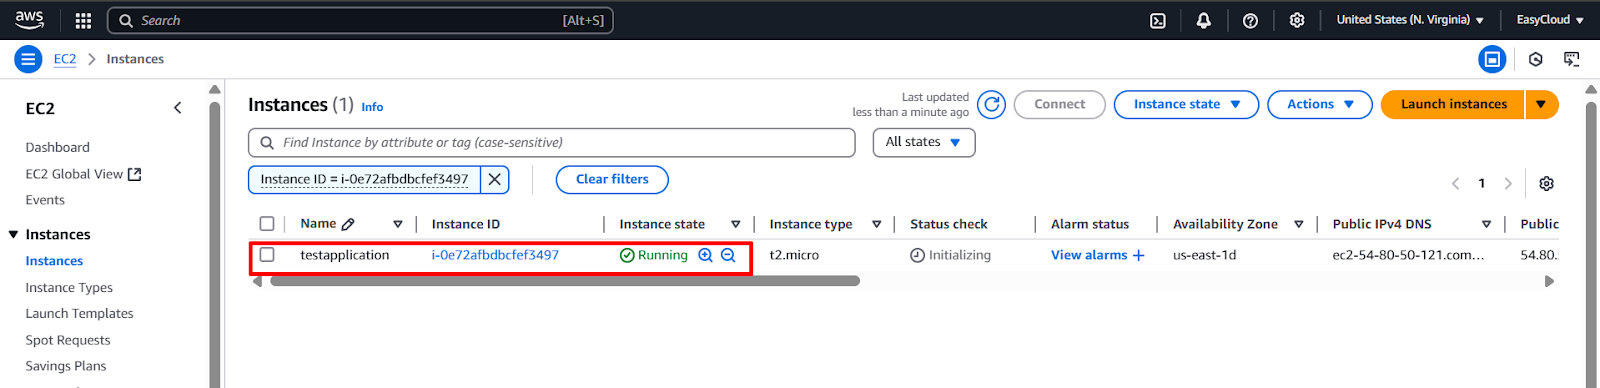
9. Verify if the server has been successfully launched by checking the Instances section in the EC2 dashboard. The instance status should show as running, and the instance will be listed with its corresponding details such as instance ID, public IP, and instance type.
END